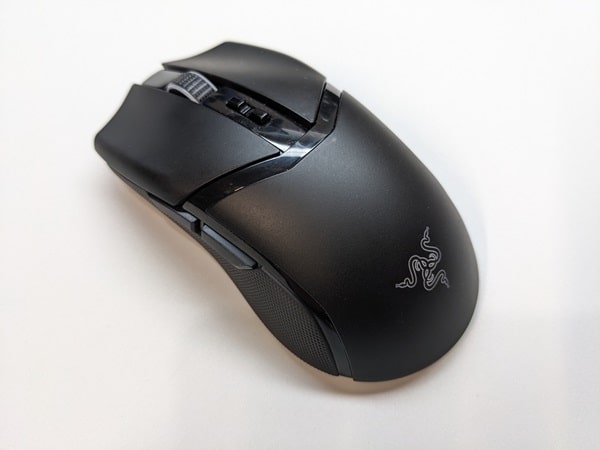
Below is a step-by-step guide showing you exactly how to install a TJ Exclusives Aero base modification on a Razer Cobra Pro gaming mouse.
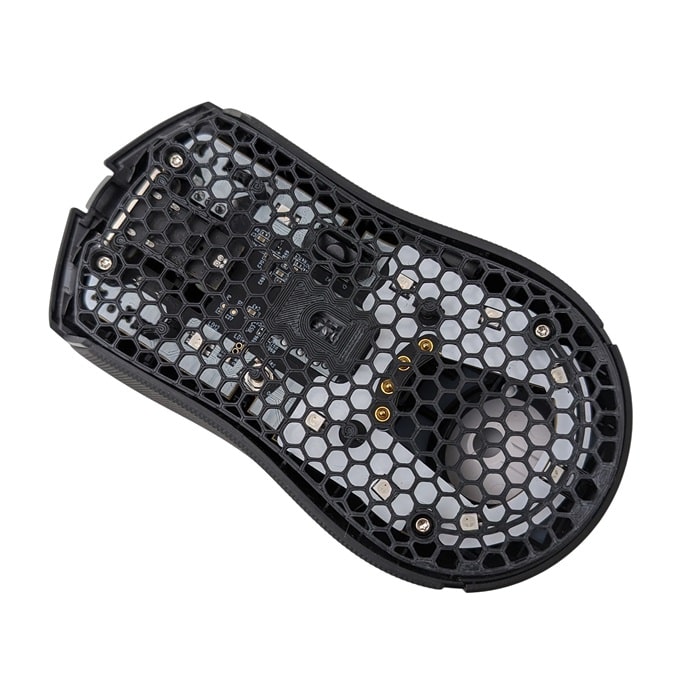
Tools Required:
– T6 Torx screwdriver
– #00 Philips screwdriver
– 1/8″ drill bit
Install Guide:
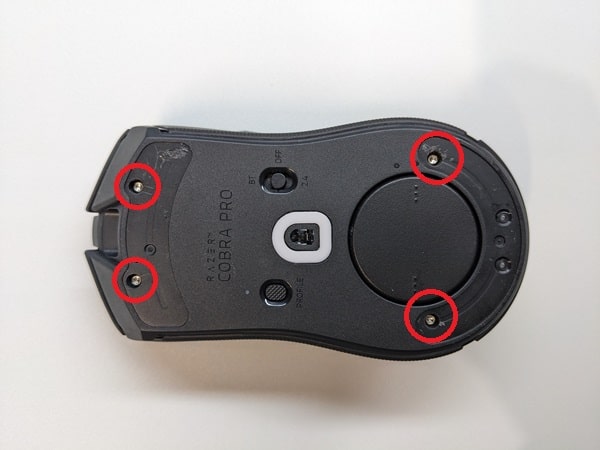
1) Remove the front and rear skates from the mouse. Unscrew the four screws with a T6 torx screwdriver.
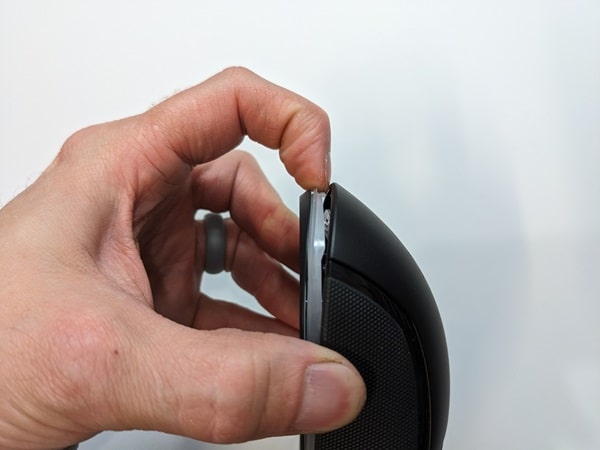
2) Grab the sides of the mouse and then squeeze to start separating the base from the top shell. Carefully pull on the back of the base to unclip it from the top shell. Do not pull it too far as there are some electrical cables attached between the two.
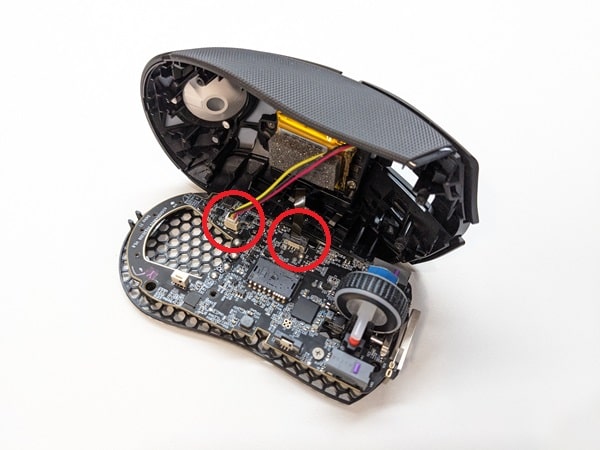
3) Pull the battery cable out of the connector on the pc board. Pull up on the ribbon cable lock, then pull the ribbon cable out of the pc board. Set the top shell to the side.
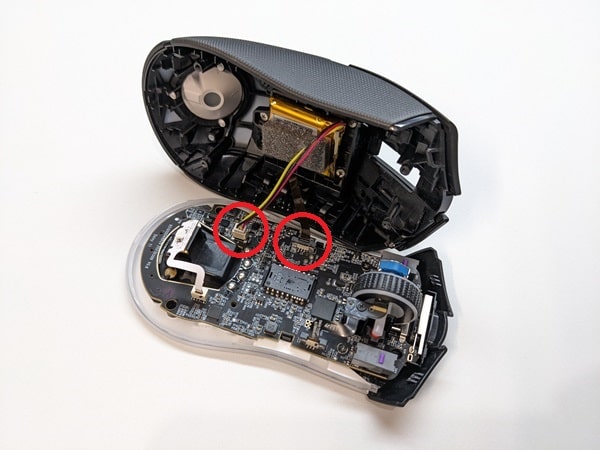
4) Pull the rear RGB ribbon out of the connector on the pc board. Pull up on the ribbon cable lock for the scroll wheel RGB, then pull the ribbon cable out of the pc board.
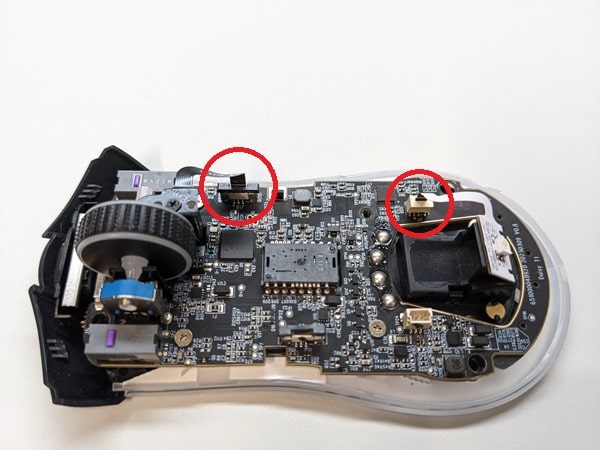
5) Unscrew the front RGB pc board with a 00 philips screwdriver and then remove the RGB pc board carefully.
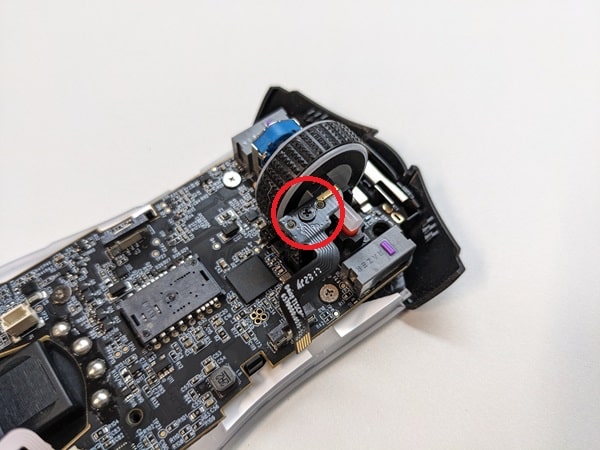
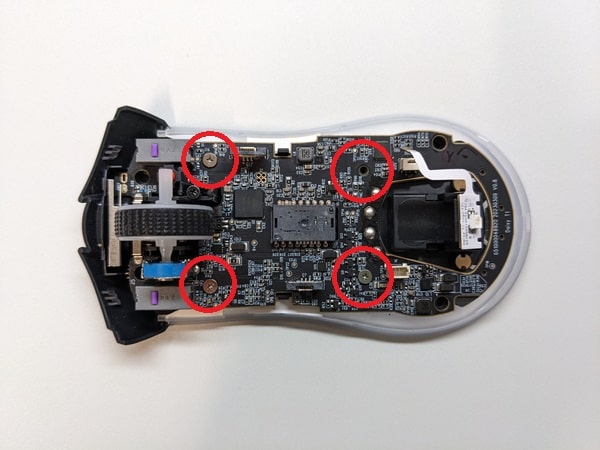
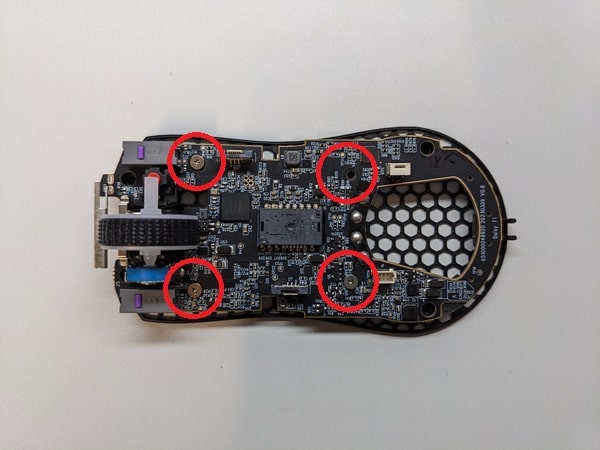
6) Remove the four 00 philips screws to remove the main pc board.
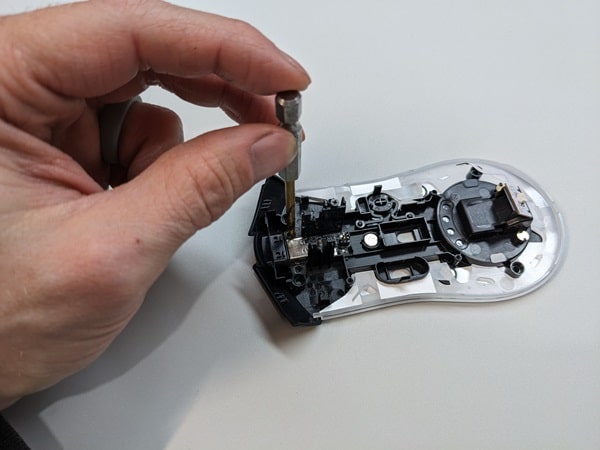
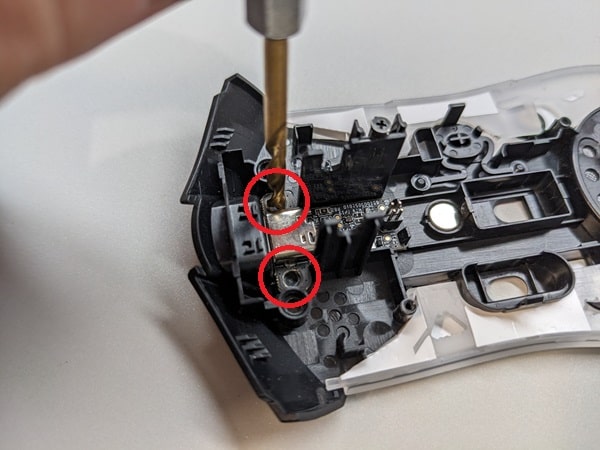
7) Use your 1/8″ drill bit by hand to slowly remove the two plastic welds holding the USB daughter board in place. You should cut away just enough material to remove the pc board.
8) Clip the spacer on to the main pc board. There is a small nub on the metal bar that locates the spacer.
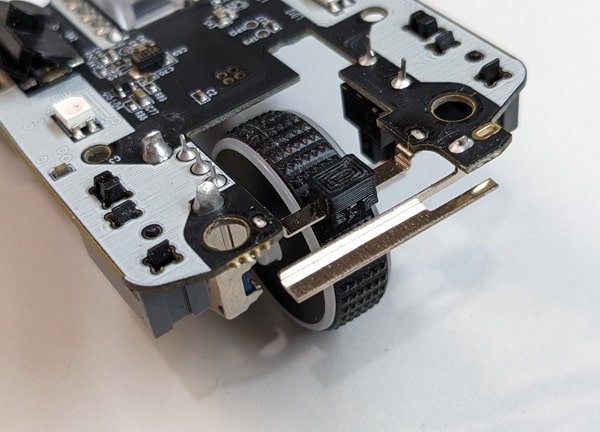
9) Plug the USB daughter board into the main pc board.
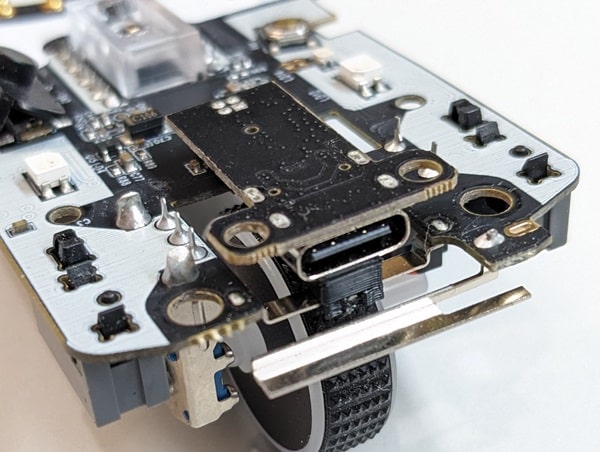
10) Place the pc board on to the lightweight base. Make sure the power switch is aligned in the groove on the base. Also make sure the USB daughter board is aligned on its mounting pins on the base.
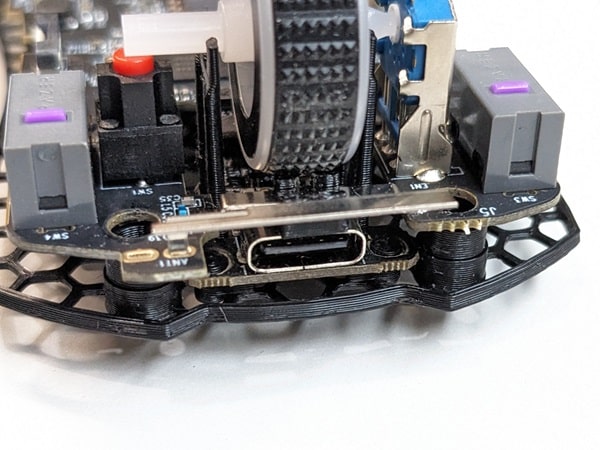
11) Install the four 00 philips screws.
12) Plug in the mouse battery. Also insert the top shell ribbon cable making sure to push the locking mechanism down after its inserted.
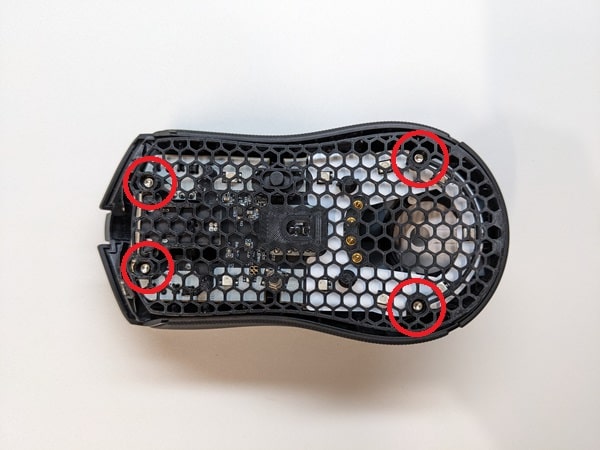
13) Install the four T6 torx screws for the top shell.
14) Stick on some new mouse skates. They are positioned in the same spot as they were on the original base. Congratulations, you’re all done!
We recommend taking some time to test it out. Sometimes the lift off distance may need to be slightly adjusted.


 No products in the cart.