Below is a step-by-step guide showing you exactly how to install a TJ Exclusives Aero base modification on an Endgame Gear XM2 8k gaming mouse.
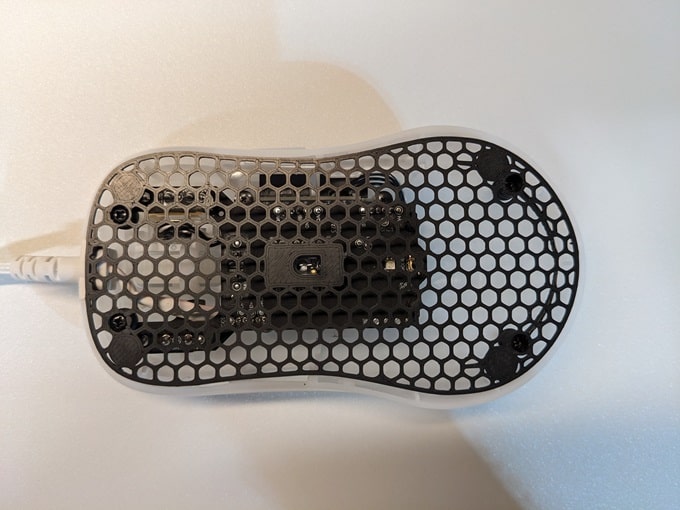
Tools Required:
– #1 philips screwdriver
– #00 philips screwdriver
– Small flat bladed screwdriver (optional)
Install Guide:
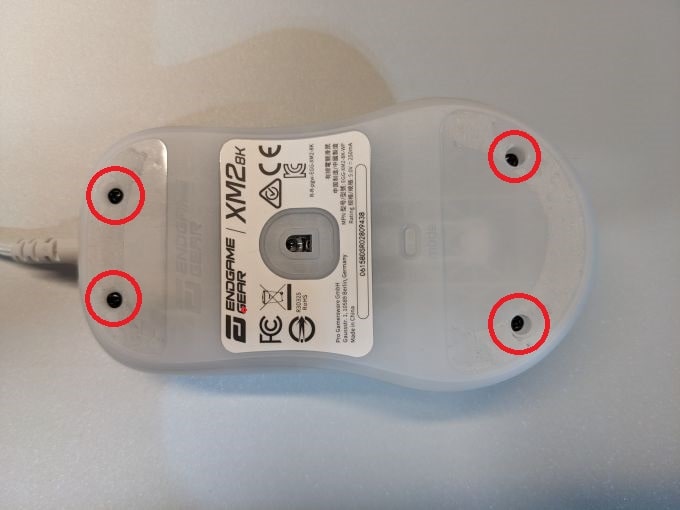
1) Remove the front and rear skate. Then remove the four screws with a #1 phillips screwdriver.
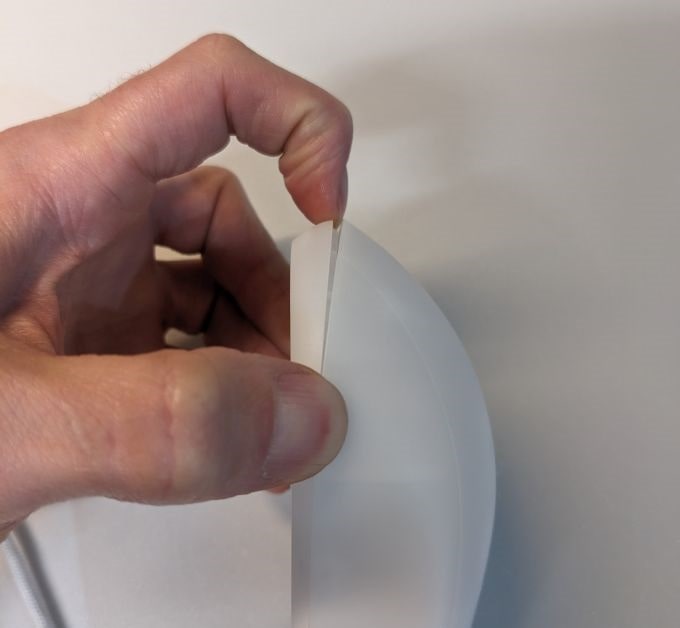
2) Grab the sides of the mouse and then squeeze the mouse to start separating the base from the top shell. Carefully pull on the back of the base to unclip it from the top shell. Do not pull it too far as there are cables attached between the two pieces.
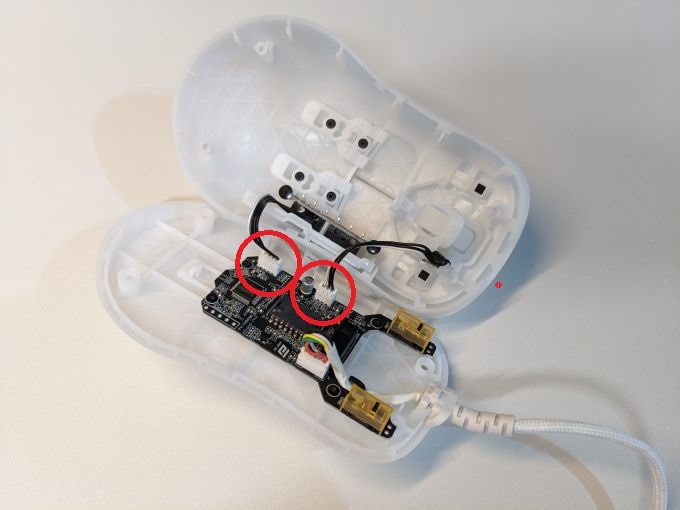
3) Pull out the two connectors with wires going to the top shell. Set the top shell off to the side.
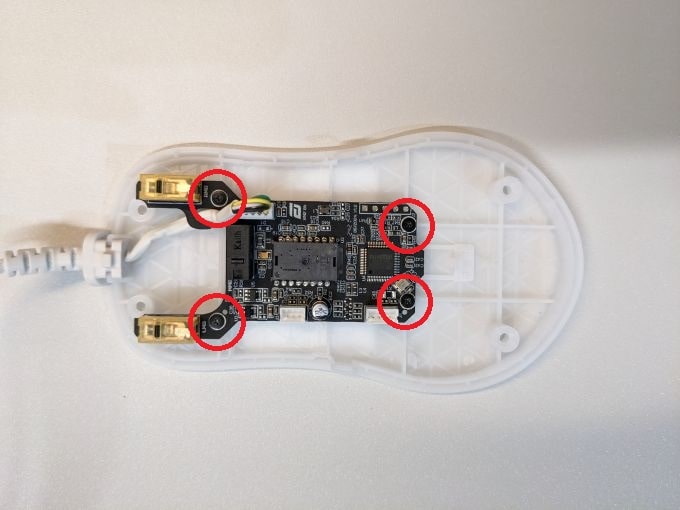
4) Remove the four #00 philips screws holding the pc board to the base. Pull the pc board up, and also pull up on the stress relief to release the mouse cord from the base.
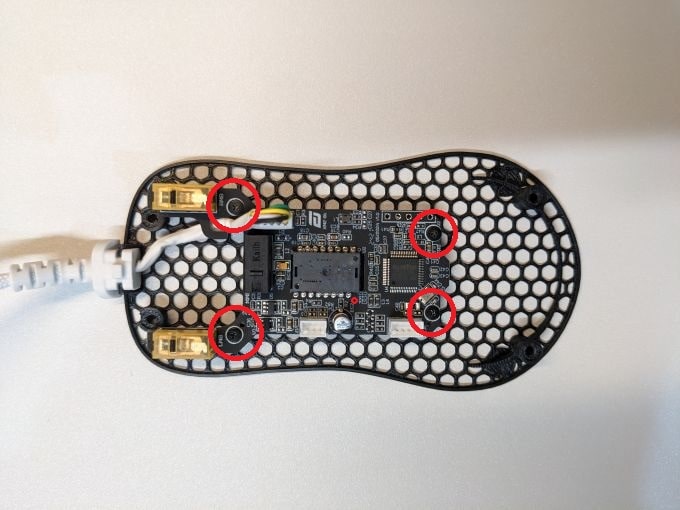
5) Grab the Aero base. Insert the strain relief into the front of the base. Route the mouse cord through the hook on the pc board and screw the pc board to the Aero base with the four #00 philips screws.
6) Reconnect the two connectors from the top shell.
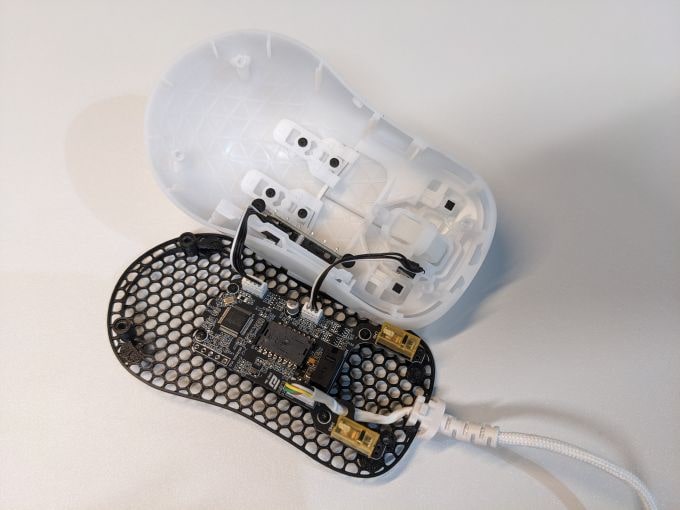
7) Mate the Aero base up to the top shell. The base has recesses to seat the mounting posts into. With the posts seated, reinstall the four #1 philips screws.

8) Stick on some new mouse skates. Position them in the same spot as they were on the original base.
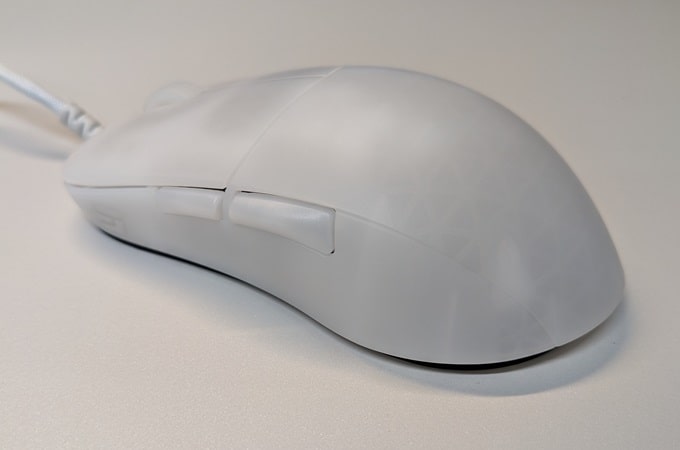
Congratulations, your lightweight XM2 8k is ready to use!


 No products in the cart.