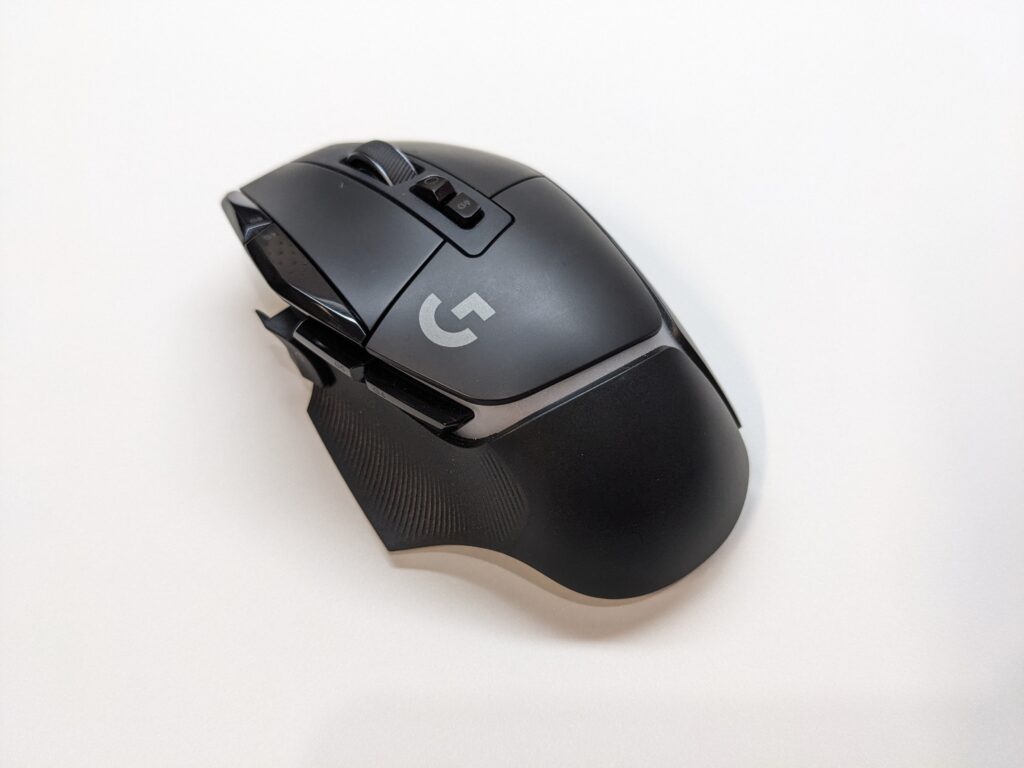
Tools Required:
– 00 philips screwdriver
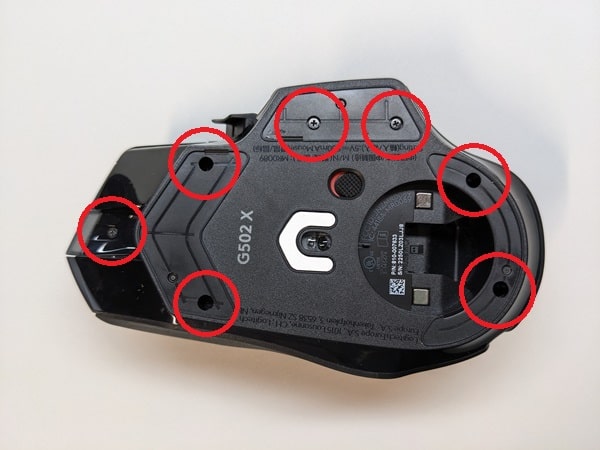
1) Remove the front, rear, and side skates from the mouse. Unscrew the seven screws with a 00 philips screwdriver.
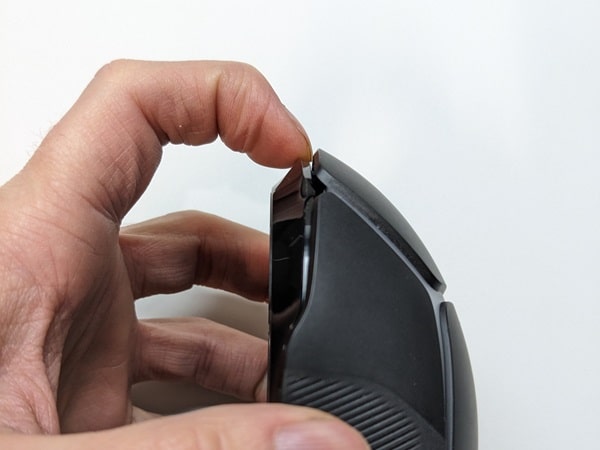
2) Grab the sides of the mouse and squeeze to start separating the base from the top shell. Carefully pull on the back of the base to unclip it from the top shell. Do not pull it too far as there some electrical cables attached between the two.

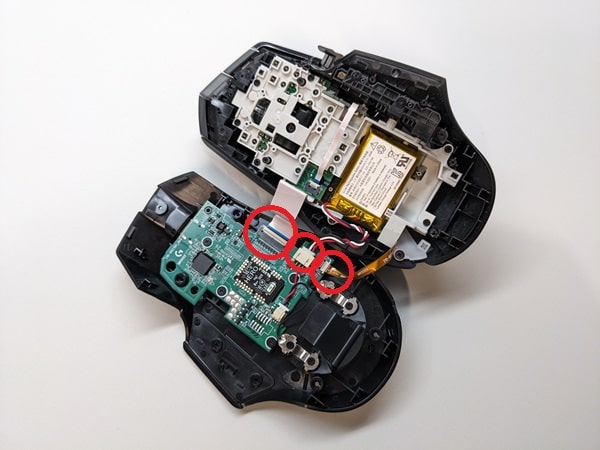
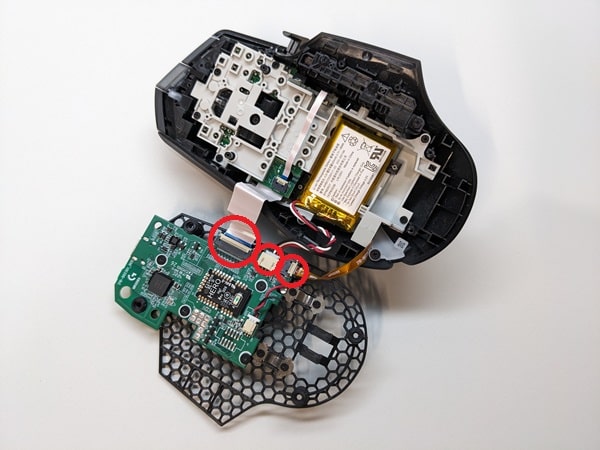
3) Pull up on the ribbon cable lock, then pull the ribbon cable out of the pc board. Do this for both ribbon cables. Pull the battery cable out of the connector on the pc board. Set the top shell to the side.

4) Remove the charging lead connector by pulling it out.
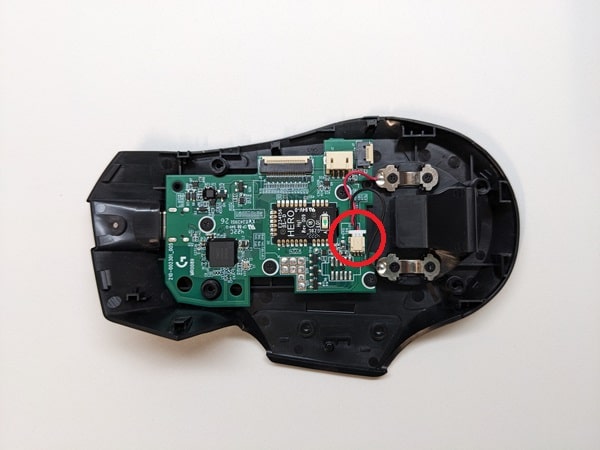

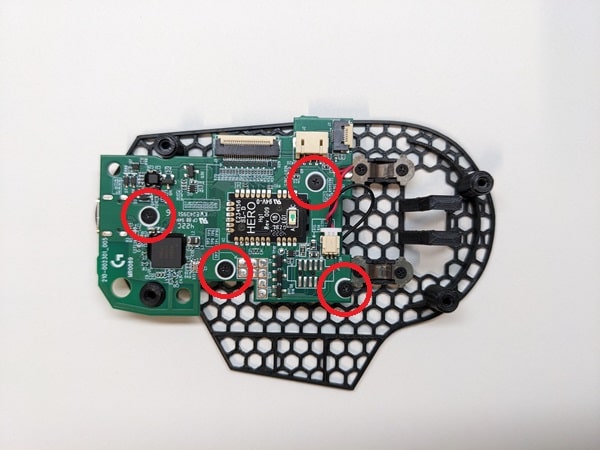
5) Remove the four screws holding the pc board to the base with a 00 philips screwdriver. Remove the pc board and the power switch along with it.
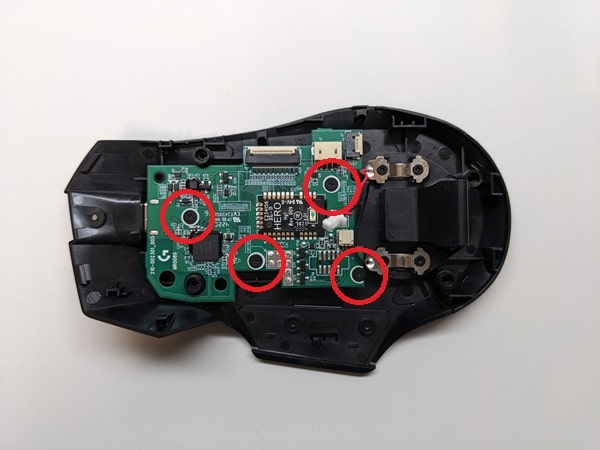

6) Optionally, remove the four screws holding the charging leads and magnets in place with a 00 philips screwdriver if you intend to reuse them.
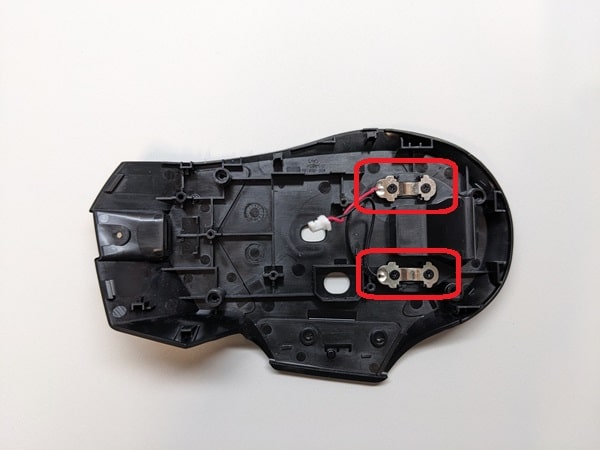

7) Optionally, install the magnets and charging leads on the lightweight base. Install the four 00 philips screws.
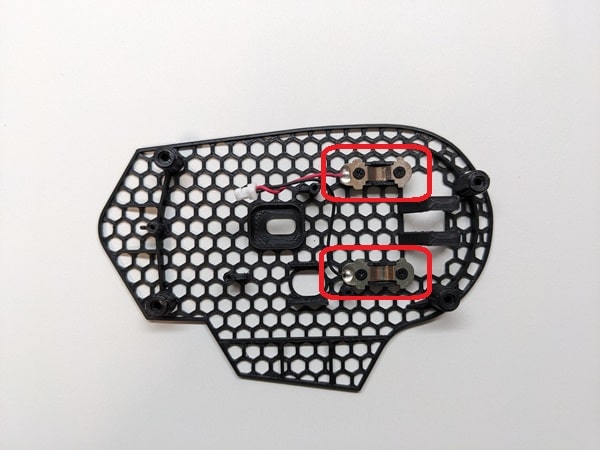

8) Place the pc board on the lightweight base. The screw posts will locate the pc board. Make sure to align the power switch properly as it can fall off of the switch fairly easily. Install the four 00 philips screws. If you are reusing the charging leads, also it back into the pc board.

9) Reconnect the two ribbon cables making sure to lift the locking mechanism before inserting the cables. Also, push to reconnect the battery connector.

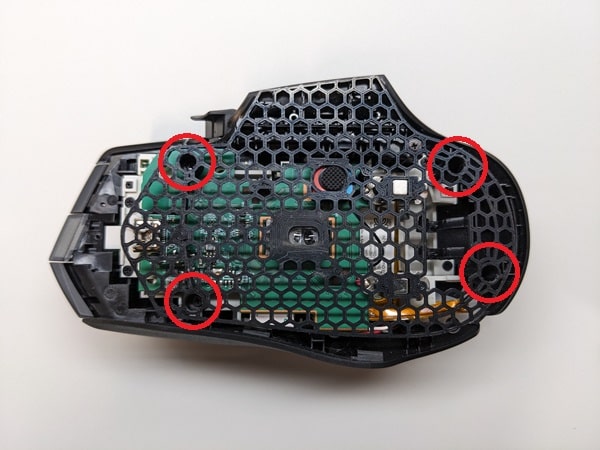
10) Fold the base over and reinstall four 00 philips mounting screws that hold the lightweight base to the top shell.

15) Stick on some new mouse skates. They are positioned in the same spot as they were on the original base. Congratulations, you’re all done!
We recommend taking some time to test it out. Sometimes the lift off distance may need to be slightly adjusted.
