Below are step-by-step guides showing you exactly how to install PlastiX Dot Skates on your gaming mouse to get optimal performance out of them.
Video Guide
Written guide
Note: When peeling the skates off the plastic sheet you must do it slowly and use your fingernail as to not remove the adhesive from the dot
Note: There is a minimum 3 hour break in period for the PlastiX Skates. They will get much smoother and quieter.
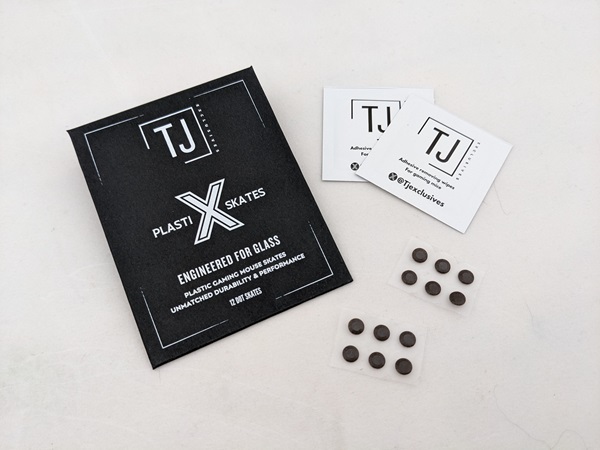
Tools Required:
– Flat bladed screwdriver / knife (optional)
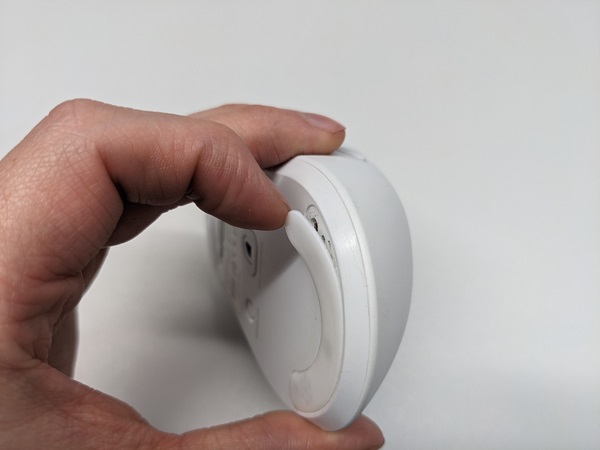
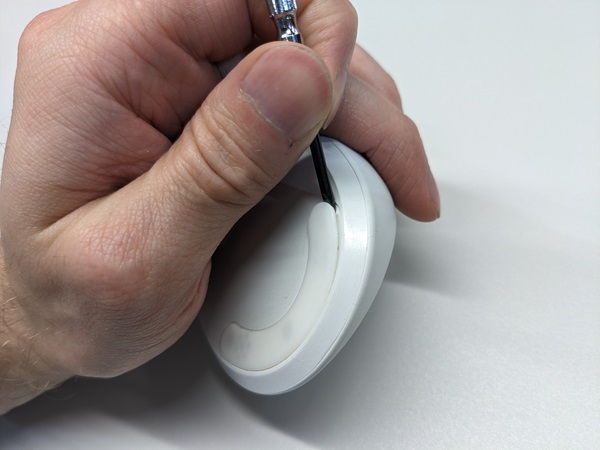
1) Use your fingernail or flat bladed screwdriver to carefully pry up the stock skates on your mouse. Make sure to remove the entire skate. Some brands peel off in layers. Remove all the skates.
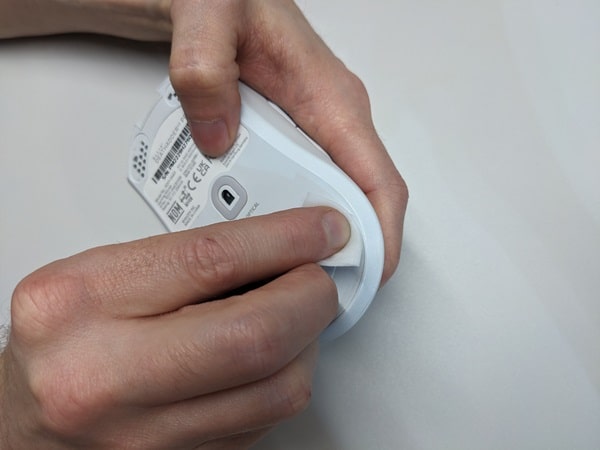
2) Open the included adhesive removing wipe and then carefully use them to clean the area the skates were adhered to. Please be careful to only wipe the skate are and not other areas of the mouse as this can affect the finish on the plastic.
Note: When peeling the skates off the plastic sheet you must do it slowly as to not remove the adhesive from the dot.
3) Grab your new PlastiX skates and then adhere them to the mouse skate area. Note: When peeling the skates off the plastic sheet you must do it slowly as to not remove the adhesive from the dot. We recommend that you put them at the four corners for the best stability. However, feel free to play around and see what you like the most.
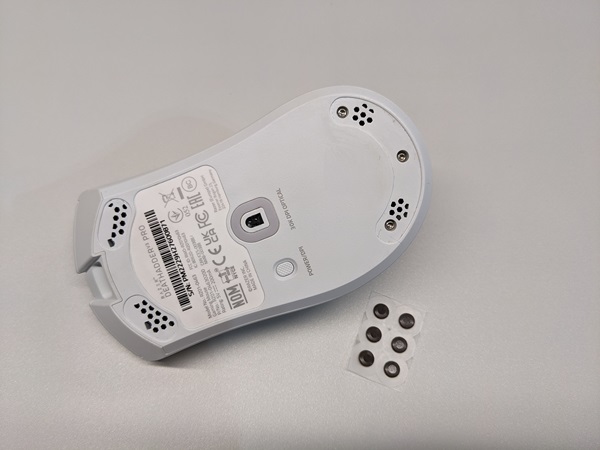
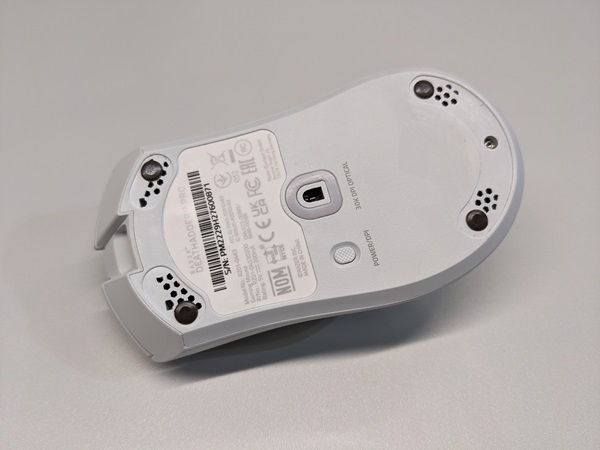
Follow the next few steps below to speed up the process breaking the skates in.
4) If you have a hard mouse pad, place the mouse on the pad and then press down with a decent amount of force.
5) While pushing down on the mouse, move the mouse in large and fast figure eight pattern’s and or circles for 15-20 seconds. Wipe the skates off with a cloth and then repeat the figure eight for another 15-20 seconds. Repeat this process 5 times. This will break them into the surface quickly. Your skates are now ready to use.


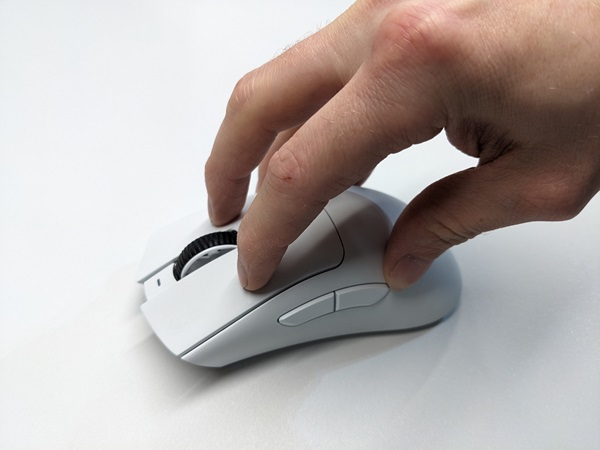
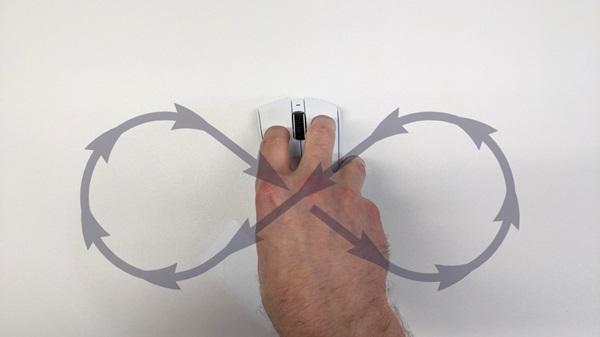
 No products in the cart.