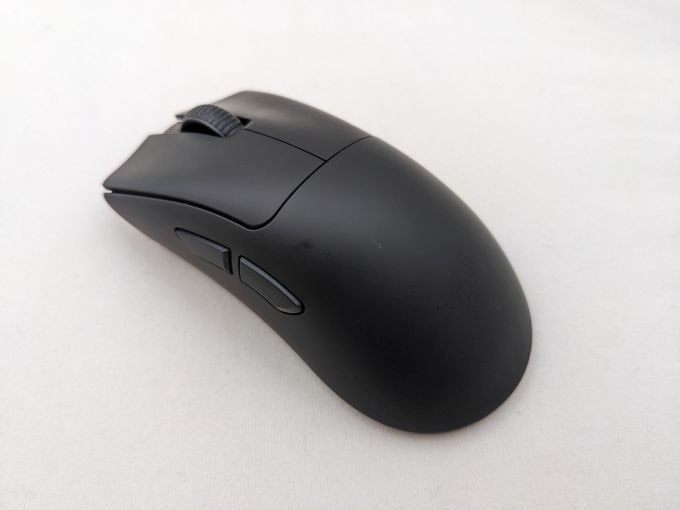
This is a step-by-step guide showing you exactly how to install a TJ Exclusives Aero base modification on a Razer DeathAdder V4 Pro gaming mouse.
Tools Required:
– #1 philips screwdriver
– T6 torx driver
Install Guide:
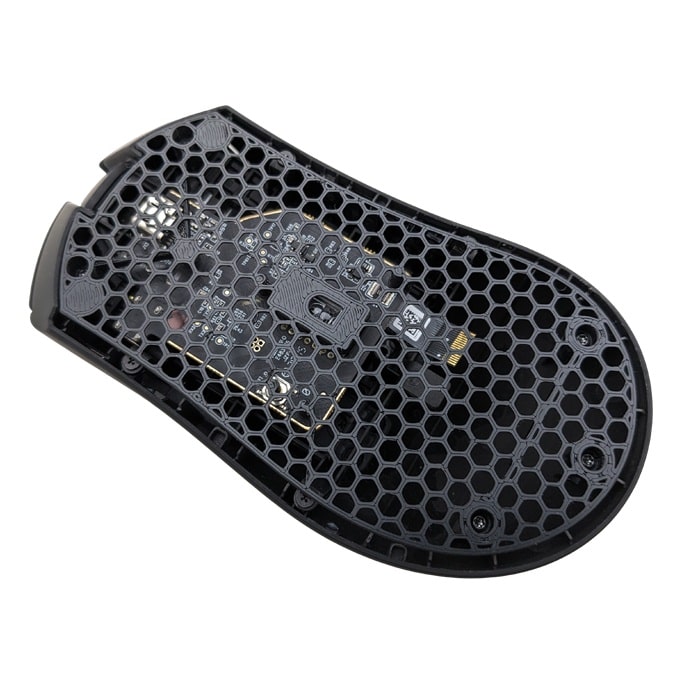
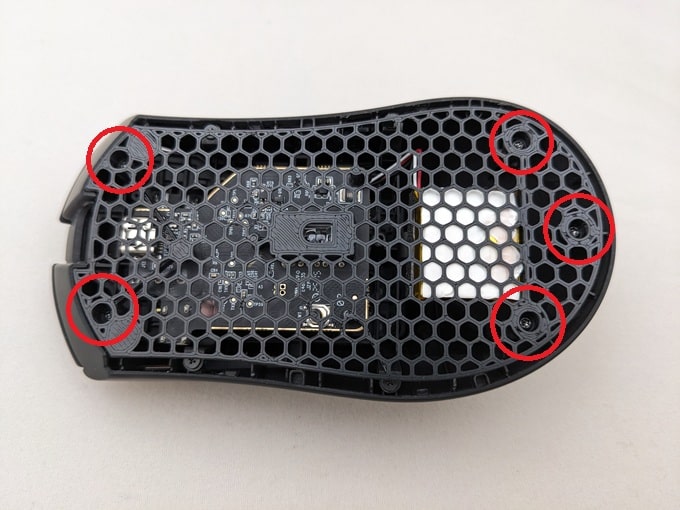
1) Remove the front and rear skates. Then remove the five screws with a T6 hex driver.

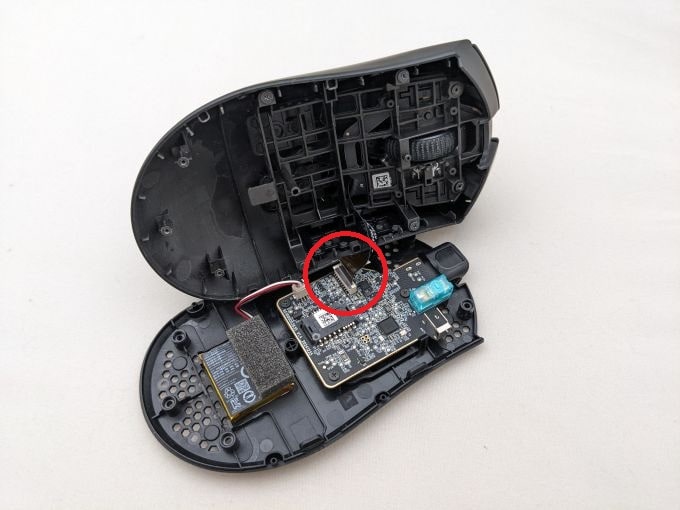
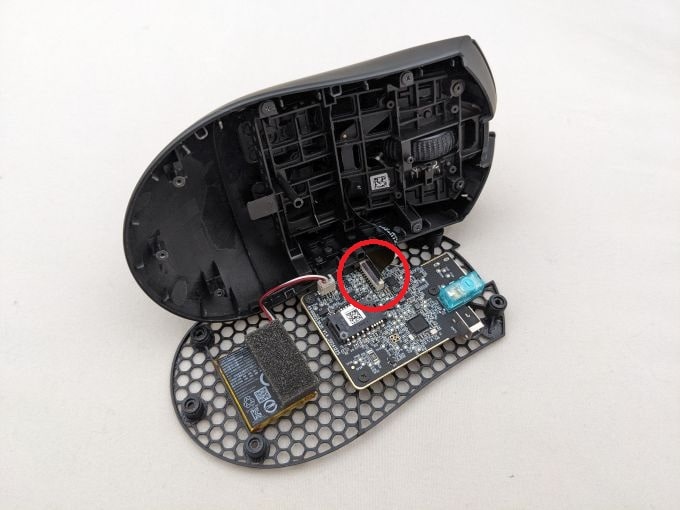
2) Pinch the back of the mouse to separate the top shell and base. Work your finger around the edges to disengage the clips. Be careful not to pull the shell and base apart too far as there is a ribbon cable connected between them.

3) Open the shell up and disconnect the ribbon cable by pulling up on it.
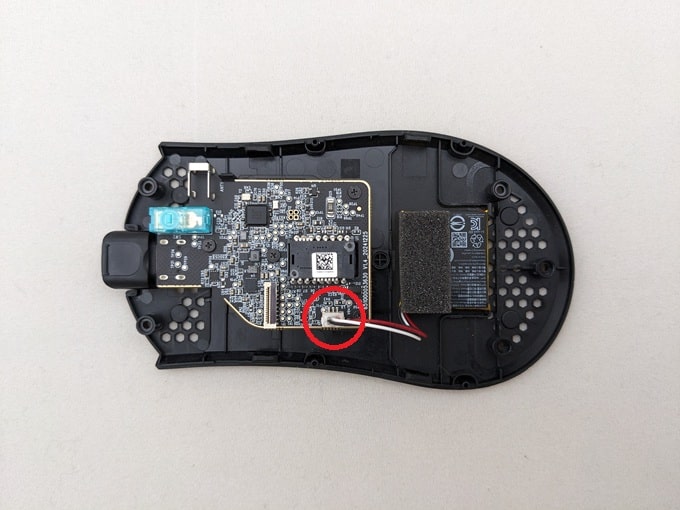
4) Disconnect the battery connector by pulling up on it. Then, remove the battery.
5) Remove the four #1 philips screws to remove the pc board from the base.
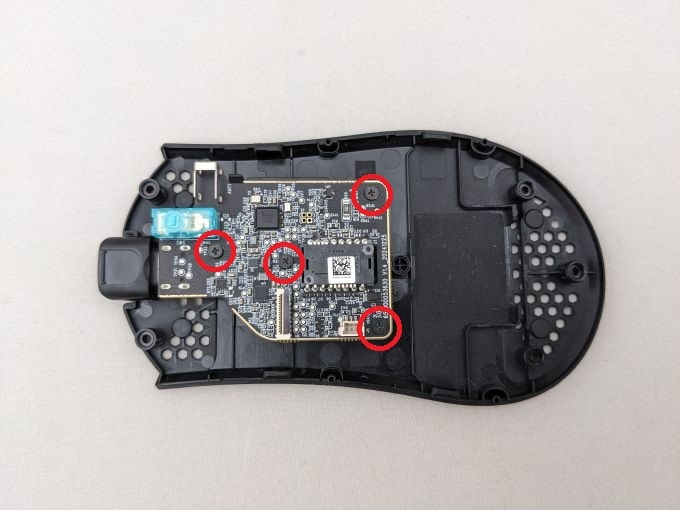
6) Install the four #1 philips screws to mount the pc board to the Aero base.

7) Connect the battery to the pc board and stick it down to the rear of the Aero base. There is room to adjust the battery position to alter mouse balance if desired.

8) Grab the top shell and insert the ribbon cable into the pc board connector by pushing it in.
9) Put the top shell on the base and install the five T6 torx screws.
10) Stick on some new mouse skates. Position them in the same spot as they were on the original base.
Congratulations, your DeathAdder V4 Pro with Aero base is ready to use!

 No products in the cart.