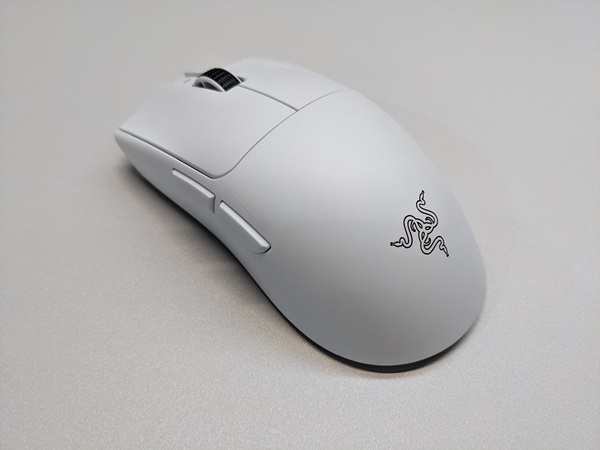
Below is a step-by-step guide showing you exactly how to install a TJ Exclusives Aero base modification on a Razer Viper V3 Pro gaming mouse.
Tools Required:
– #00 philips screwdriver
– T6 torx screwdriver
Install Guide
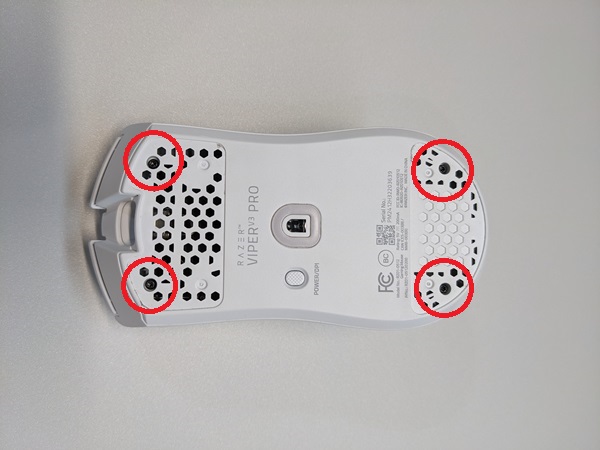
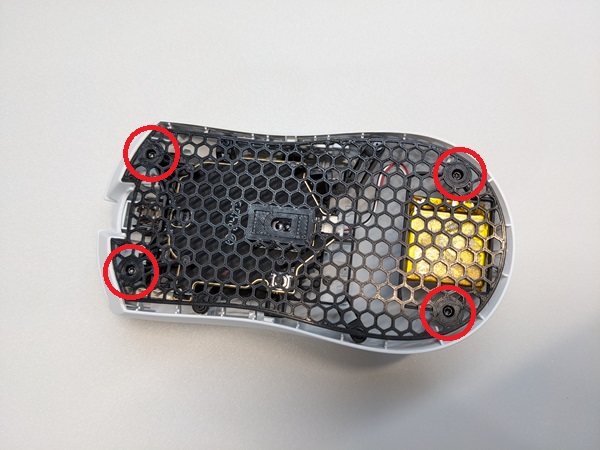
1) Remove the front and rear skates, then remove the four screws with a T6 torx screwdriver.
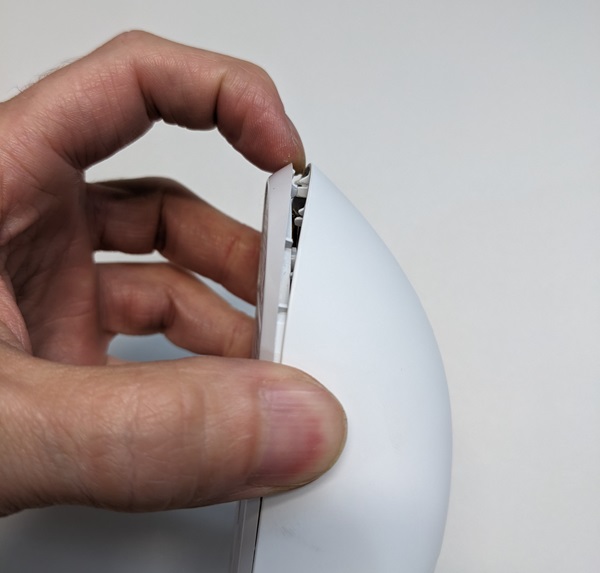
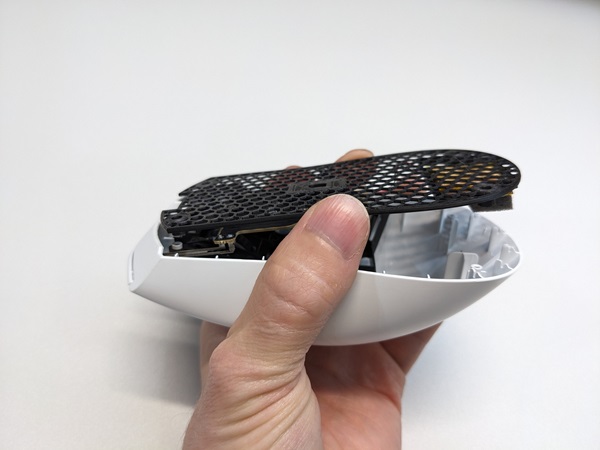
2) Grab the sides of the mouse and then squeeze to start separating the base from the top shell. Carefully pull on the back of the base to unclip it from the top shell. Do not pull it too far as there is an electrical cable attached between the two.
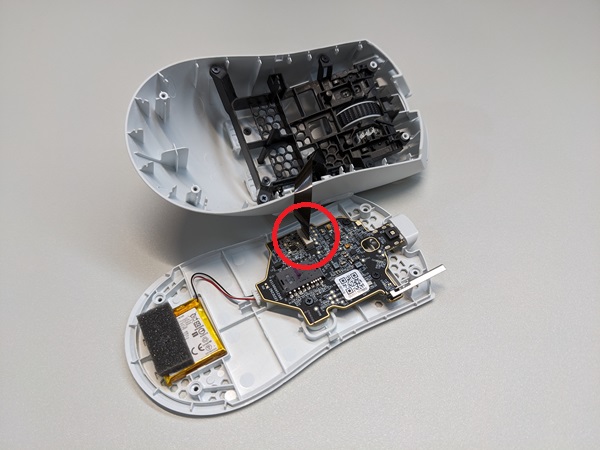
3) Pull the flex ribbon cable out of the PC board. Set the top shell off to the side.
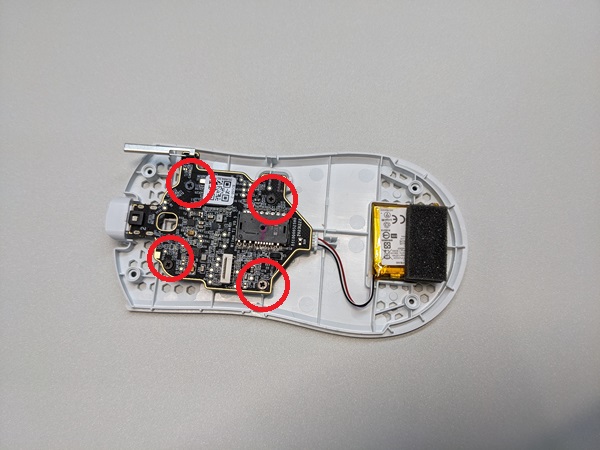
4) Unscrew the four #00 philips screws holding the PC board to the base. Unplug the battery and then pull the PC board straight up off the base to remove it.
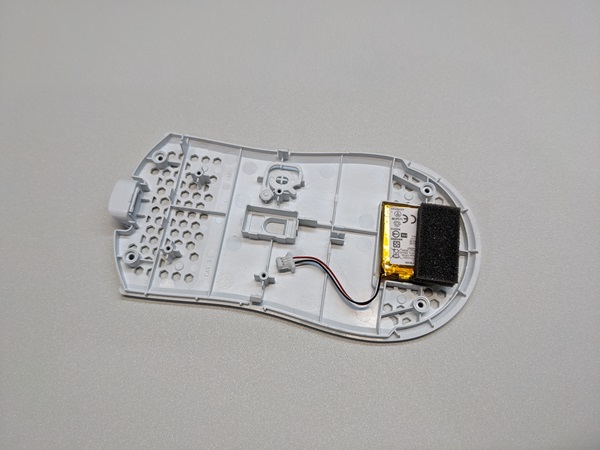
5) Remove the battery from the base.
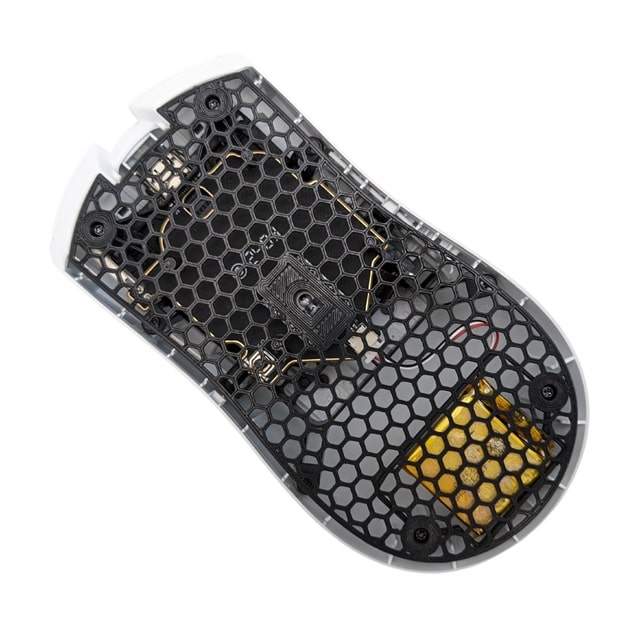
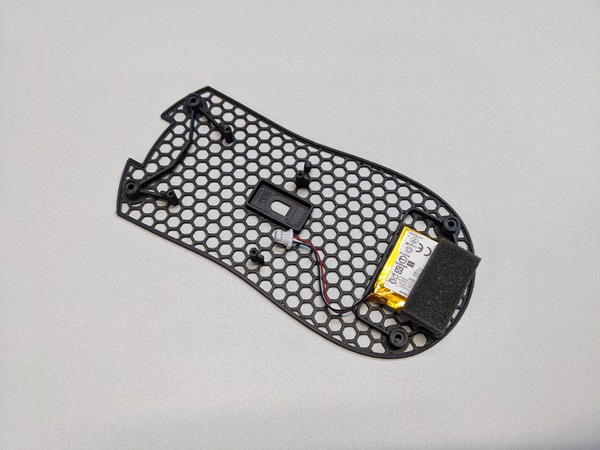
6) Place the battery onto the Aero base.
7) Screw in the four #00 philips screws to attach the PC board to the base. Plug in the battery.

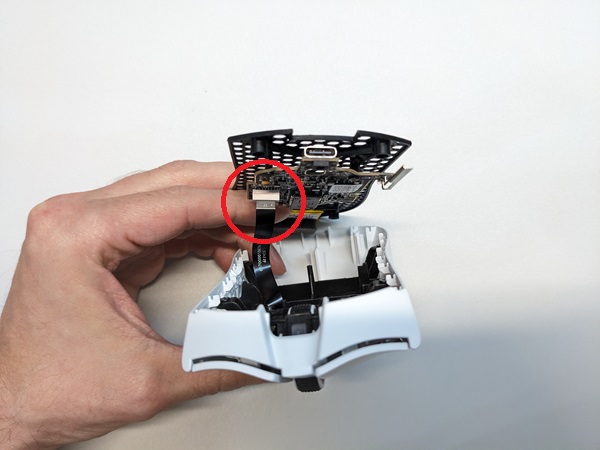
8) Reconnect the flex ribbon cable to the PC board.
9) Tilt the base as shown to reassemble the base with the top shell. This is to make sure the wireless antenna clears the top shell.
10) Screw in the four T6 torx screws.
11) Stick on some new mouse skates. They are positioned in the same spot as they were on the original base.
Congratulations, your lightweight Viper V3 Pro is ready to use!
We recommend taking some time to test it out. Sometimes the lift off distance may need to be slightly adjusted.

 No products in the cart.